

Kill the power or gas to the unit first, then shut off its cold-water supply valve. Contain whatever water has already escaped with towels and buckets, and start pulling standing water off floors right away. Once the leak is stopped, call a plumber for a tank problem or a restoration company if water has reached your floors, walls, or belongings.
TL;DR:
- Most leaks originate from fittings or the T&P valve, which are usually fixable with proper tightening or replacement of seals.
- Active leaks require immediate shutdown of power, gas, and water supply to prevent safety hazards and further damage.
- Rapid water removal and thorough drying within 24 to 48 hours are crucial to prevent mold growth and secondary structural damage.
- Flushing a water heater annually or every six months in hard water areas can prevent sediment buildup and extend the unit's lifespan.
- Contact a plumber for bottom-seam or tank failure leaks and a restoration company if water has soaked into floors, walls, or belongings.
Table of Contents
- Water Heater Leak Cleanup: The Shutdown Sequence That Comes First
- How Do You Contain and Remove the Water Safely?
- How Fast Do You Need to Dry Everything Out?
- Where Is the Water Actually Coming From?
- How to Flush a Water Heater the Right Way
- When Should You Call a Plumber vs. a Restoration Company?
- What Pure Resto Sees Most Often
- Get Emergency Help Before Small Damage Becomes Big Damage
- Sources
- FAQ
Water Heater Leak Cleanup: The Shutdown Sequence That Comes First
Every water heater leak cleanup starts the same way, regardless of what caused it: stop the power, stop the fuel, stop the water. Do this before you touch a towel.
- Electric units: Go to your breaker panel and flip the dedicated breaker for the water heater. Don't just switch off a nearby light. Find the labeled breaker.
- Gas units: Turn the gas control valve to OFF, or to PILOT if reaching OFF feels unsafe. Then move to the cold-water inlet valve on top of the tank and close it.
- Depressurize if needed: Open a hot-water faucet somewhere in the house, or briefly lift the T&P (temperature and pressure) valve lever to relieve pressure. Never cap or plug the T&P discharge pipe. A leaking T&P valve often signals excess pressure or heat building inside the tank, and blocking it removes your only safety release.
If you smell gas, or you see water pooling anywhere near an electrical panel or outlet, get everyone out of the house and call your gas company or 911 from outside. Don't flip switches, don't use your phone indoors, and don't go back in to "just check." Both electrical shock and pressure-related tank failure are real hazards with a leaking unit, and they're not worth a closer look.
How Do You Contain and Remove the Water Safely?
Once the source is stopped, the goal shifts to limiting how far the water spreads and how deep it soaks in. A garden hose routed from the drain valve to a floor drain, sump pit, or an exterior door handles active flow fastest, cutting out the bucket relay entirely.
For water that's already loose on the floor:
- Lay towels around the perimeter of the puddle first, then work inward.
- Use a wet/dry vacuum on carpet or shallow standing water. A regular shop vac works fine; a household vacuum does not.
- Lift area rugs immediately. Wet rugs left in place transfer moisture straight into subflooring.
- Slide moisture-proof blocks or foil under furniture legs so wood and metal don't wick water upward.
For the leak itself, temporary measures buy you time, not a permanent fix. A hose cap or pipe clamp on a leaking drain valve, or a tightened fitting with fresh PTFE tape, can hold until a plumber arrives. Photograph everything before you start cleanup, including the water line on walls or cabinets and any visible rust or corrosion, since insurance adjusters rely on that documentation.
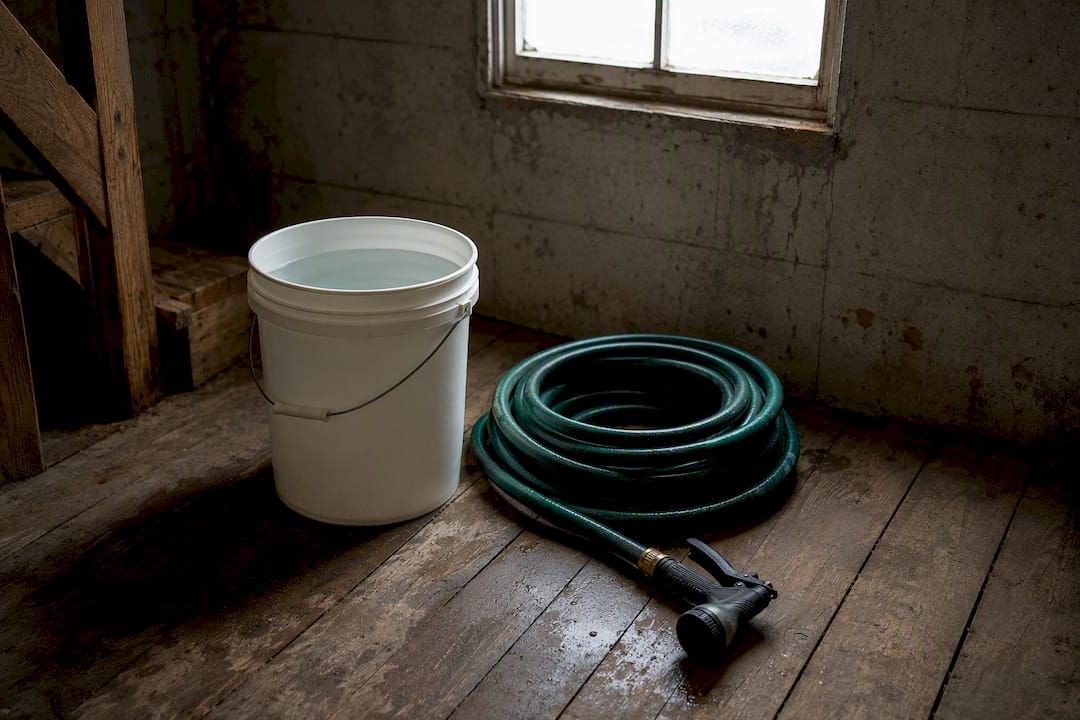
Pro Tip: Keep a five-gallon bucket and a coil of hose specifically for this near your water heater. Grabbing gear during an active leak costs you minutes you don't have.
How Fast Do You Need to Dry Everything Out?
Water heater leak cleanup doesn't end when the floor looks dry. Trapped moisture in subfloor, drywall, and carpet padding is where the real damage starts.
The sequence is simple: remove standing water, then run box fans across wet surfaces while a dehumidifier pulls moisture out of the air. If drywall or subfloor feels damp to the touch, open the cavity (pull baseboard or cut an inspection hole) so trapped air can circulate.
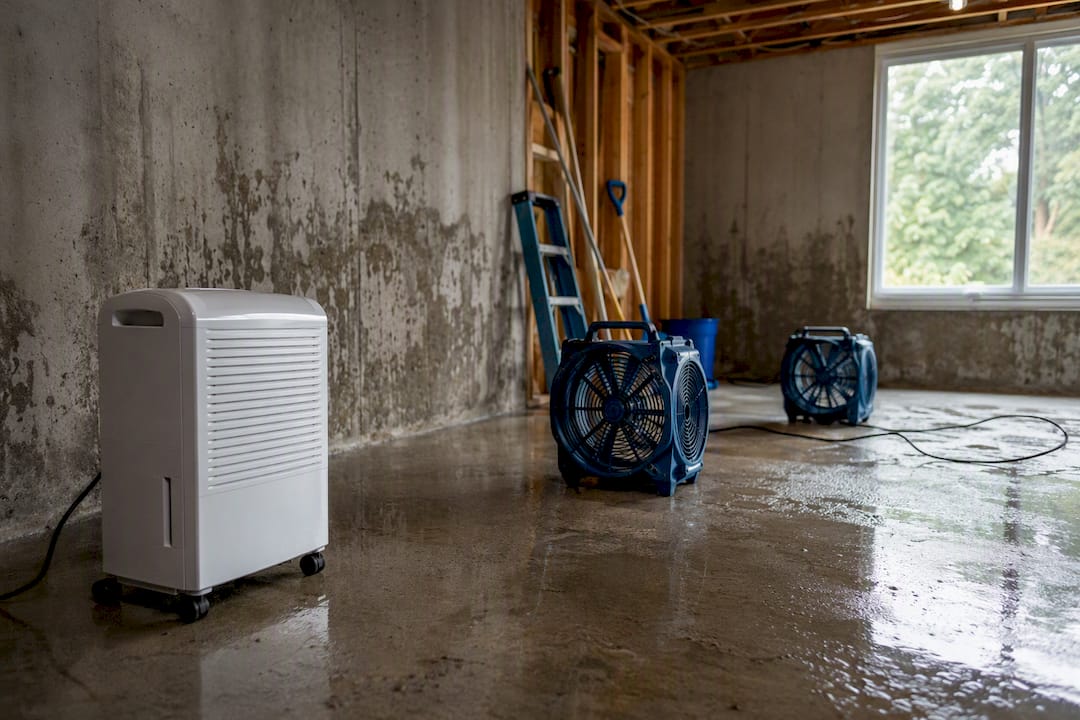
Timing matters more than most homeowners expect. Mold colonies can begin establishing within about 24 to 48 hours of a surface staying wet, which is why drying has to start the same day as the leak, not "this weekend." A moisture meter, cheap and available at any hardware store, tells you when materials are actually dry rather than just dry-looking.
Situations that call for more than fans and a dehumidifier:
- Carpet padding stayed wet more than a day or two: replace it, don't dry it.
- Water tracked under baseboards into a finished basement.
- Any musty smell showing up after the first 48 hours.
At that point, structural drying equipment and contents cleaning aren't optional extras. They're what actually stops secondary damage.
Where Is the Water Actually Coming From?
Before you assume the worst, trace the leak. Most water heater problems come from one of five spots, and working top to bottom finds them fast.
- Inlet and outlet fittings at the top of the tank. These loosen from vibration or thermal cycling and are the easiest fix.
- The T&P valve and its discharge pipe. A slow drip here can mean a failing valve or pressure that's too high for the valve to handle.
- Side ports and heating elements (electric units) where gaskets wear out over time.
- The drain valve at the bottom, which corrodes or simply doesn't seat tightly after years of use.
- The tank seam itself. If water is coming from the actual body of the tank, there's no repair for that. Replacement is the only option.
For fittings, the two-wrench method (one to hold the pipe steady, one to turn the fitting) plus fresh PTFE tape solves most minor drips. Don't overtighten. Cracked fittings from a heavy hand cause worse leaks than the ones you started with.
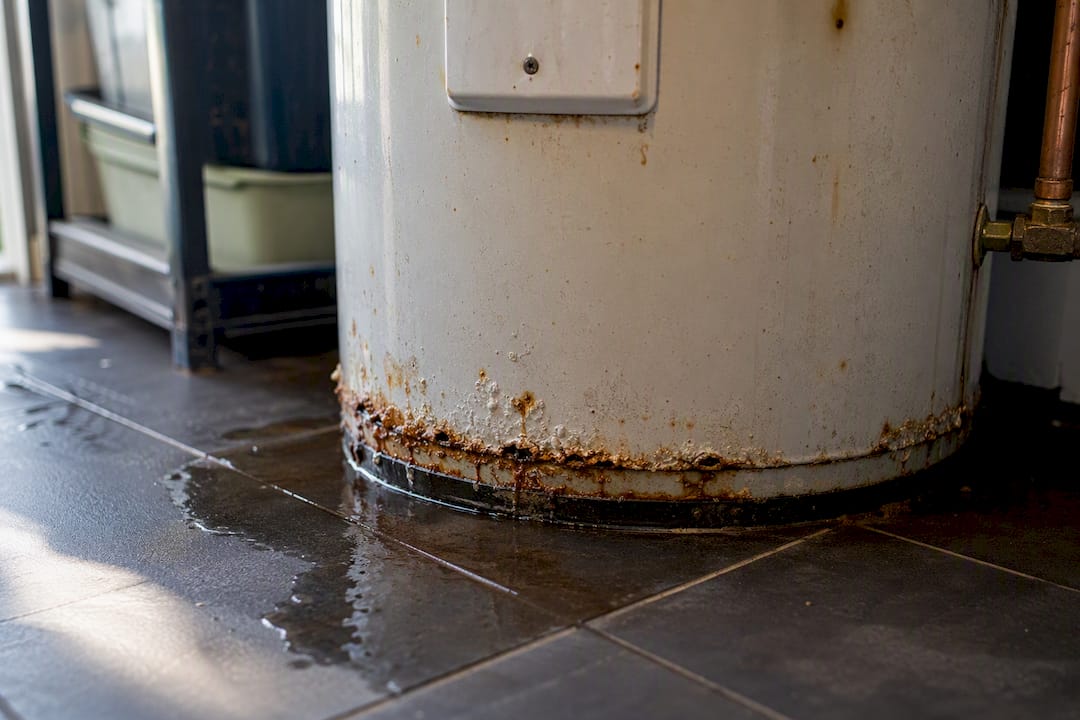
Rusty water, visible corrosion, or wetness pooling specifically at the bottom seam are signs the tank itself has failed, especially on units past 8 to 10 years old. At that stage, you're shopping for a new water heater, not a fix.
How to Flush a Water Heater the Right Way
Sediment buildup is one of the most common water heater problems, and it's largely preventable with a routine flush. Here's the sequence:
- Turn off power (electric) or set gas to PILOT, then let the water cool for at least an hour.
- Attach a garden hose to the drain valve and route it to a floor drain or outside.
- Open the T&P valve briefly to break the vacuum, then open the drain valve.
- With the drain open, crack the cold-water inlet to flush fresh water through until it runs clear.
- Close the drain valve, remove the hose, refill the tank fully, purge air from a hot-water faucet, then restore power or gas.
Most households should flush once a year, and every six months if you're on hard water. Tankless units don't drain the same way. They need periodic descaling instead. While you're in there, replace the anode rod every two to three years and test the T&P valve annually by lifting the lever and confirming it snaps shut. If the drain valve won't budge or the tank shows heavy corrosion, stop and call a plumber rather than forcing it.
When Should You Call a Plumber vs. a Restoration Company?
These are two different calls, and knowing which one to make first saves time.
- Call a plumber immediately for a gas smell, water flowing faster than you can contain, a T&P valve that keeps discharging, or any leak coming from the tank body itself.
- Call a restoration company when water has already soaked into flooring, walls, or furniture, when standing water remains after 30 to 60 minutes of active removal, or when you suspect mold is starting.
- Restoration work covers structural drying, contents cleaning, and typically direct insurance billing, three things a mop and a fan can't replicate on their own.
Ask any company you call for their IICRC certification, a written itemized scope of work, and documented moisture readings before and after drying. A same-day or near-immediate response window matters here. The longer wet materials sit, the more they cost to fix.
What Pure Resto Sees Most Often
We answer these calls constantly, and our 30-minute emergency response and IICRC-certified crews exist because minutes matter. The two mistakes we see most: waiting a day to "see if it gets worse," and capping the T&P pipe. Annual flushes and valve tests prevent most of this entirely.
— Pure
Get Emergency Help Before Small Damage Becomes Big Damage
Pure Resto is the direct alternative to spending a weekend renting equipment and guessing whether your subfloor actually dried out. In Maryland, our crews arrive fast, carry IICRC certifications, and handle the parts of water heater leak cleanup a homeowner can't: structural drying, mold inspection, and contents cleaning with secure storage if items need to come out of the house.

We also bill insurance companies directly, so you're not fronting restoration costs while a claim gets processed. If your basement carpet or upholstery took on water, our carpet cleaning crews extract and treat it before mold has a chance to set in. Worried about hidden moisture behind drywall? Our mold inspection team checks it properly with moisture meters, not guesswork.
If you're dealing with an active leak right now, call Pure Resto and have your address, the water heater's approximate age, and whether the leak is still active ready when you dial. That's all our dispatcher needs to get a crew moving.
Sources
For step-by-step flushing instructions straight from a manufacturer, see Rheem's flush guide or Home Depot's how-to. For emergency help, Pure Resto is available 24/7.
- How often to flush your water heater and how to do it - Rheem
- How often you should drain your water heater - BobVila
- Fixing a water heater leak - PlumbingResource
FAQ
Should you flush a 20 year old water heater?
Generally no. A tank that old has likely accumulated internal corrosion, and forcing a flush can crack a weakened drain valve or tank seam. Have a plumber inspect it first.
Is it safe to leave a leaking water heater on?
No. Shut off the power or gas and the cold-water inlet as soon as you spot a leak, since continuing to run it risks electrical shock, scalding, or a pressure-related failure.
How do I get rid of sediment buildup in my water heater?
Flush the tank by draining it through the drain valve while running fresh cold water through until it runs clear, following the standard flush procedure, and repeat annually or every six months in hard-water areas.
What should you do when a water heater leaks from the bottom?
Shut off power or gas and the water supply immediately, then check whether the leak is the drain valve (often fixable) or the tank seam itself (not fixable). Bottom-seam leaks mean it's time to call Pure Resto or a plumber for replacement, not repair.