
A mold clearance test, formally called post-remediation verification (PRV), confirms that a treated area has returned to Condition 1 — a normal fungal ecology — and that no visible growth, musty odor, or active moisture source remains. A passing result does not mean zero mold; it means the space compares favorably to the outdoor baseline and meets the documented criteria agreed on before remediation began.
Three things every property owner should know going in:
- The standard is Condition 1, not zero mold. CDC and NIOSH guidance is explicit: there are no health-based numeric indoor spore-count limits. Clearance compares indoor conditions to a natural outdoor baseline and checks for absent visible growth and musty odors.
- The governing framework is IICRC S520. This industry standard defines Conditions 1–3, drives the protocol, and measures success through documented compliance, not a square-footage rule.
- Independence matters. For the strongest legal and contractual protection, the inspection and any formal sampling should be performed or supervised by an independent Indoor Environmental Professional (IEP) whose engagement is written into the remediation contract before work starts.
Key Takeaways
Mold clearance testing confirms a return to Condition 1 — a normal fungal ecology compared to the outdoor baseline — not the elimination of all mold spores.
| Point | Details |
|---|---|
| Condition 1 is the target | Clearance verifies normal fungal ecology vs. outdoor baseline; CDC/NIOSH confirm no numeric spore-count limit exists. |
| Timing is critical | Sample within 24–48 hours after remediation, containment in place, air scrubbers off; do not wait beyond five days. |
| Use an independent IEP | For insurance claims, real estate, or complex jobs, an IEP-conducted PRV is the most legally defensible option. |
| Write criteria into the contract | Specify IICRC S520 as the standard, sample counts, pass/fail definition, rework obligations, and a payment holdback clause. |
| Purerestomd for Maryland PRV | Purerestomd provides IICRC-trained mold inspections, sampling coordination, and direct insurance billing across Maryland. |
Table of Contents
- What does mold clearance testing actually include?
- When should you schedule clearance testing?
- Who should perform your clearance inspection?
- How sampling works and what labs actually report
- How to read your clearance results
- What to do when clearance testing fails
- What does clearance testing cost?
- How to write clearance criteria into your remediation contract
- What a valid clearance report must contain
- How Purerestomd supports post-remediation verification in Maryland
- What practitioners get wrong about clearance testing
- Purerestomd handles mold clearance testing and remediation in Maryland
- Sources
- FAQ
What does mold clearance testing actually include?
A clearance inspection is four things working together, not a single air sample. Combining visual, moisture, and targeted sampling checks is what makes a result defensible; air tests alone are unreliable without that qualitative context.
The four core components:
- Visual inspection. The inspector walks every remediated surface looking for residual visible growth, dust accumulation, containment integrity, and evidence that cleaning was thorough. Photos are taken throughout.
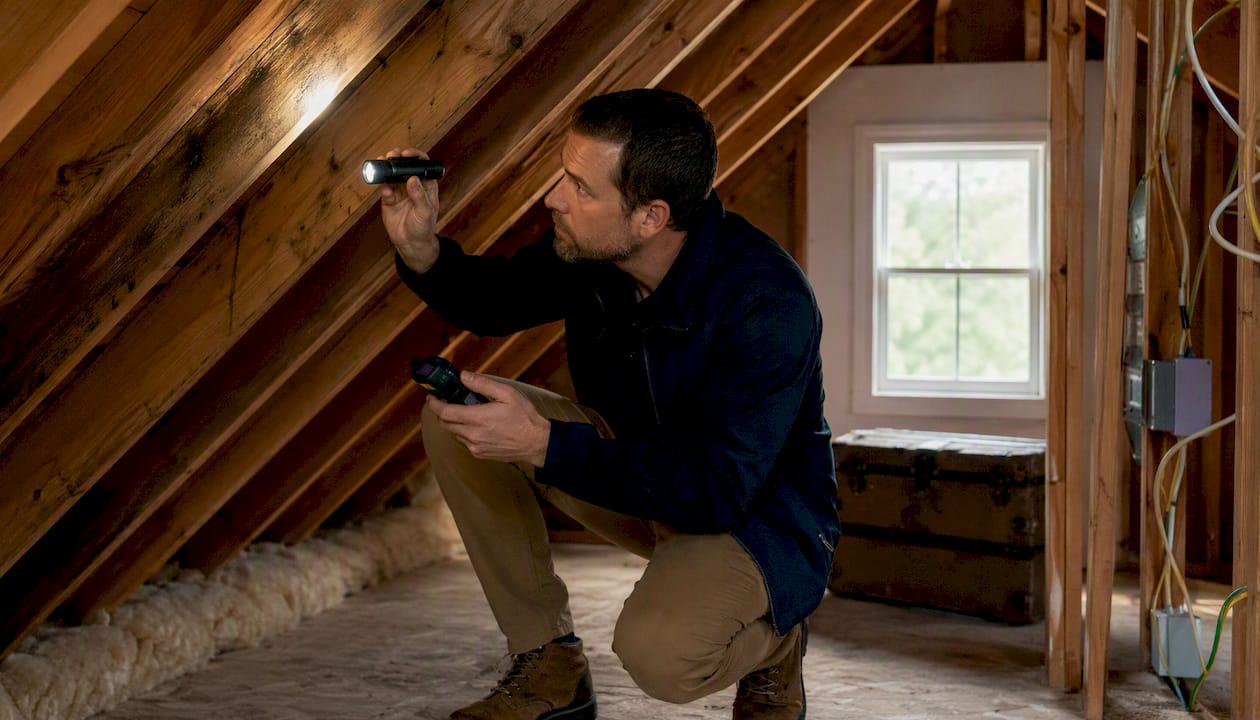
- Moisture assessment. A moisture meter confirms the original source has been corrected and that building materials are at or near normal dry readings. Elevated moisture after remediation is a near-certain predictor of recurrence.
- Odor assessment. A musty or earthy smell in a "cleaned" space is a red flag even when surfaces look fine. Odor detection is a qualitative check that no instrument fully replaces.
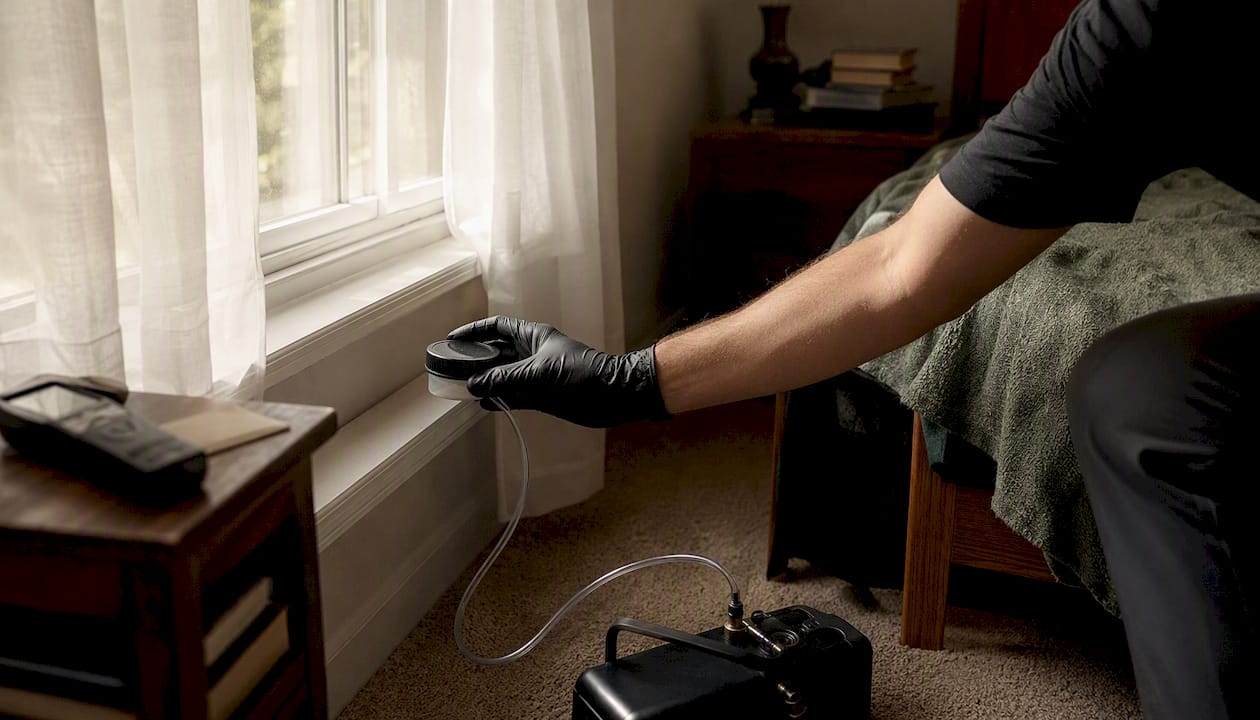
- Laboratory sampling. Depending on the job scope, this includes outdoor baseline air samples, indoor air samples, surface swabs or tape lifts, settled-dust samples, and sometimes HVAC/duct checks.
Sample types and when each applies:
- Outdoor baseline air: Always collected. Without it, indoor counts have no reference point.
- Indoor air (spore trap or cassette): Most common. Captures airborne fungal particles at the time of sampling, which is why still-air conditions matter so much.
- Surface swab or tape lift: Used when a specific surface needs confirmation of cleaning or when visible residue is ambiguous.
- Settled-dust sample: Captures what has accumulated over time; useful for HVAC registers and horizontal surfaces.
- HVAC/duct check: Warranted whenever the remediation area shared an air-handling system with other zones. Skipping this is one of the most common causes of post-clearance recurrence.
Pro Tip: Never rely on air sampling alone. A single air cassette can look clean because a window was opened or a fan ran before the inspector arrived. Pair every air result with the visual and moisture findings — that combination is what the SCRT PRV guidance describes as a complete verification.
When should you schedule clearance testing?
Timing is one of the most overlooked variables in the whole process, and getting it wrong produces results that are either falsely clean or falsely alarming.
- Wait a minimum of 24 hours after remediation is complete before air or settled-dust sampling. The recommended window is 24–48 hours, with containment left in place and air scrubbers turned off when practicable. This lets disturbed particles settle so the sample reflects the actual cleaned state.
- Do not wait longer than approximately five days. New contamination events — a rain intrusion, a door left open, a neighboring space with active mold — can compromise results and muddy the picture of what the remediation actually achieved.
- Schedule clearance before containment is removed. Once barriers come down, cross-contamination risk rises immediately. Clearance sampling inside intact containment is the only way to test the remediated zone in isolation.
- Confirm HVAC inclusion when systems were at risk. If the air handler served the remediated area, include duct registers and the air handler in the sampling plan before containment is breached.
- Do not ventilate aggressively before sampling. Opening every window for 24 hours before the inspector arrives dilutes airborne counts and can produce a falsely clean air result. Normal building operation is fine; a pre-test airing-out is not.
- Do not begin reconstruction before clearance is achieved. Installing drywall, insulation, or flooring over an unverified space locks in any residual contamination and makes correction exponentially more expensive.
- Document the exact time and conditions at sampling. The inspector's report should note whether HVAC was running, windows were closed, and how long the space had been undisturbed. That context is what makes results interpretable later.
Who should perform your clearance inspection?
The short answer: an independent Indoor Environmental Professional (IEP) who was not involved in the remediation work. Here is why that distinction matters and when you can be more flexible.
What an IEP is: An IEP is a trained professional who assesses indoor environmental conditions, designs sampling strategies, interprets lab results, and produces written reports. Relevant credentials include IICRC familiarity with the S520 standard, ACAC (American Council for Accredited Certification) certifications such as the CMC (Certified Microbial Consultant) or CIE (Certified Indoor Environmentalist), relevant state licenses where required, and documented experience with lab chain-of-custody procedures.
Remediator verification vs. independent PRV:
- A remediator's own quality-control check at job completion is useful and common, but it is not independent. The same company that did the work has a financial incentive to declare success.
- An independent IEP eliminates that conflict. For insurance claims, real estate transactions, or any situation where the result may be disputed, IEP-conducted PRV is the most legally defensible approach.
When to insist on an independent IEP:
- Insurance claims where the carrier or adjuster will review the clearance report
- Real estate transactions where a buyer or lender requires documented verification
- Large or complex jobs (multi-room, multi-floor, or commercial properties)
- Any situation where the remediation contract is disputed or the scope was unclear
When remediator verification may be acceptable: A small, well-defined job — a single bathroom with a confirmed pipe leak, for example — where the owner has no insurance or transaction requirement and trusts the contractor's work may not need a separate IEP. Even then, requesting a written summary with photos and moisture readings costs nothing and provides a paper trail.
How sampling works and what labs actually report
Understanding the mechanics of sampling prevents you from being handed a thin report and told it is complete.
Sample counts and location strategy:
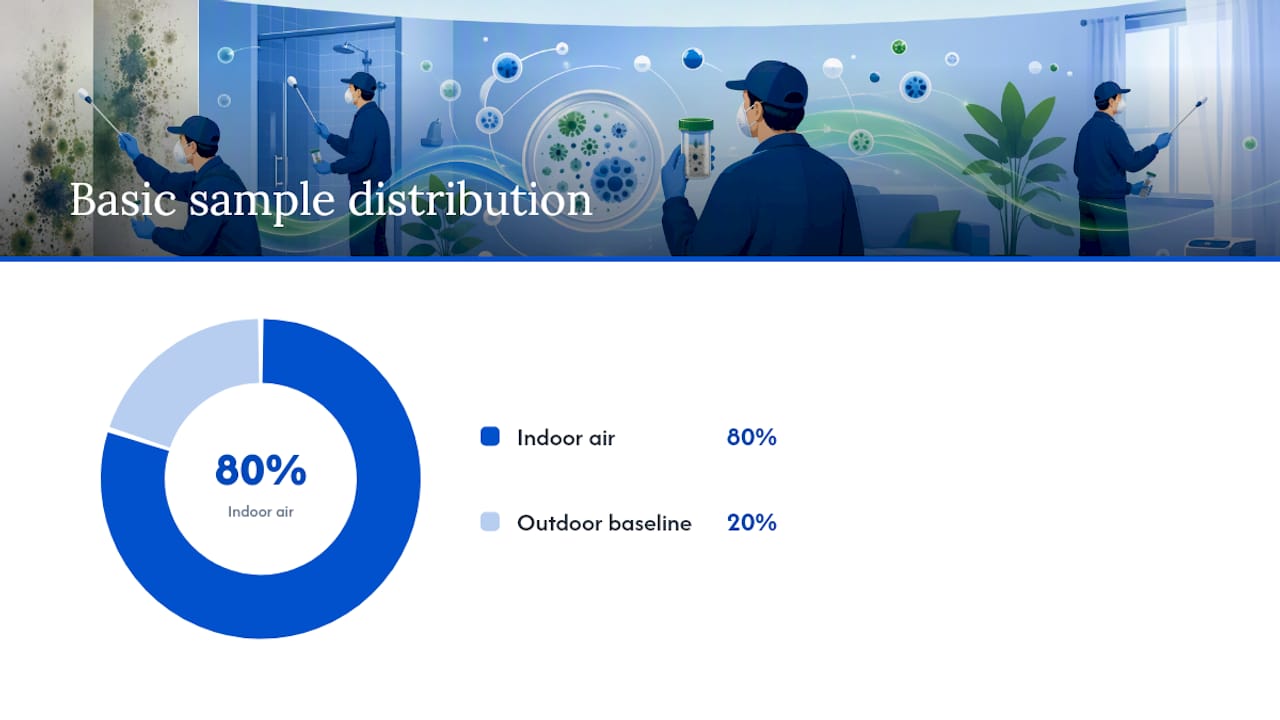
A practical clearance screening for a simple residential job typically includes at least one outdoor baseline air sample plus multiple indoor samples. Common guidance suggests one outdoor and four indoor samples as a basic screening plan; larger or more complex sites require proportionally more. Samples should be placed in the remediated zone, in adjacent areas that share airflow, and at HVAC registers when applicable.
| Sample Type | Typical Use | What It Shows |
|---|---|---|
| Outdoor baseline air | Every job | Reference fungal ecology for comparison |
| Indoor air (spore trap) | Remediated zone + adjacent rooms | Airborne spore genera and counts at time of sampling |
| Surface swab / tape lift | Specific surfaces with residue or ambiguity | Species present on a surface; cleaning confirmation |
| Settled-dust sample | HVAC registers, horizontal surfaces | Accumulated fungal load over time |
| HVAC/duct check | When systems served the remediated area | Cross-contamination risk in ductwork |
How labs report results:
Labs typically report spore counts per cubic meter of air (for air samples) or spore counts per unit area (for surface samples), broken down by genera and species identified under microscopy. Some labs also offer qPCR (quantitative PCR) analysis, which identifies specific species by DNA and can detect non-viable fragments — useful when species identification matters more than raw counts. The genera list and the indoor-to-outdoor ratio are what the IEP interprets; the raw number alone tells you very little.
Lab accreditation and chain-of-custody:
Samples should go to an accredited laboratory, such as one holding AIHA-LAP (American Industrial Hygiene Association Laboratory Accreditation Programs) accreditation. Chain-of-custody documentation, a form that tracks each sample from collection through lab analysis, is what makes results defensible for insurance or legal purposes. A report without chain-of-custody documentation is difficult to defend if results are challenged.
Pro Tip: Ask your IEP which lab they use and whether it holds AIHA-LAP accreditation before sampling begins. Switching labs after the fact is not possible once samples are collected.
How to read your clearance results
Lab numbers without context are close to meaningless. Here is the framework professionals actually use.
Condition 1 defined: IICRC S520 defines Condition 1 as a normal fungal ecology — the indoor environment has a fungal community consistent with the outdoor baseline, no visible growth, and no mold odors. That is the target. Condition 2 is settled contamination without active growth; Condition 3 is actual mold growth. Remediation aims to return a Condition 2 or 3 space to Condition 1.
Why there is no universal "safe" number: CDC and NIOSH are clear that no regulatory body has established health-based numeric indoor spore-count limits. A count of 500 spores/m³ indoors means nothing without knowing what the outdoor count is that day, which genera are present, and what the visual and moisture findings show.
Qualitative vs. quantitative interpretation:
| Interpretation Approach | What It Examines | Why It Matters |
|---|---|---|
| Qualitative (species mix, visual, odor) | Genera present indoors vs. outdoors; absence of indicator species; visual and odor findings | Catches problems raw counts miss; reflects actual ecology |
| Quantitative (raw spore counts) | Total spores/m³ indoors vs. outdoors | Useful as a supporting data point, not a standalone pass/fail |
A result that shows indoor counts lower than outdoor counts but contains Stachybotrys or Chaetomium indoors — genera rarely found outdoors in significant quantities — is a failed clearance regardless of the raw number. Conversely, a slightly elevated indoor count that mirrors the outdoor genera mix during a high-pollen, high-spore outdoor day may still represent Condition 1.
Air sampling is also highly volatile. Small disturbances can shift counts dramatically, which is why the visual inspection and moisture data are not optional add-ons. They are the anchors that make the air data interpretable.
What to do when clearance testing fails
Failing initial clearance is more common than most contractors will tell you upfront. Follow-up cleaning and retesting is a normal part of the remediation cycle, not a sign that something went catastrophically wrong. The key is having a documented process ready before it happens.
- Document the failure precisely. Get the full lab report and the IEP's written deficiency list. Vague notes like "elevated counts" are not enough — you need specific locations, genera, and moisture readings.
- Identify the root cause before re-cleaning. Common causes: residual dust from incomplete HEPA vacuuming, containment breaches that allowed cross-contamination, HVAC systems that spread spores to adjacent areas, or an active moisture source that was never fully corrected.
- Issue a written corrective-action request to the remediator. Reference the specific deficiencies from the IEP report. Verbal agreements about rework are unenforceable.
- Verify the moisture source is fixed. Re-cleaning a wet substrate is pointless. Confirm with a moisture meter before any additional remediation work begins.
- Schedule re-cleaning under the same containment protocols. The remediator should treat the re-clean as a full remediation scope, not a quick wipe-down.
- Retest using the same IEP and lab. Consistency in the testing methodology makes the before-and-after comparison meaningful.
- Hold final payment until clearance is achieved. This is the single most effective contractual lever you have.
Pro Tip: Write a payment holdback clause into the remediation contract before work begins — something like "final payment is contingent on written clearance from an independent IEP." A contractor who objects to that clause is telling you something important.
What does clearance testing cost?
PRV is almost always cheaper than the rework it prevents. Here is what drives the price.
Typical residential PRV costs vary based on the number of samples, building size, HVAC inclusion, travel distance, and the depth of the written report. Factors that push the price up include:
- Number of samples. Each air cassette or surface sample carries a lab fee plus the IEP's time to collect and document it. A five-sample job costs more than a two-sample job.
- IEP independence and credentials. An ACAC-certified IEP with documented chain-of-custody experience charges more than a general contractor adding a "clearance check" to their invoice. The premium is usually worth it for insurance or transaction purposes.
- Lab turnaround. Standard turnaround (3–5 business days) costs less than rush (24–48 hours). If you need results before a real estate closing, plan for the rush fee.
- HVAC inclusion. Adding duct registers and air-handler sampling to the plan adds both IEP time and lab fees.
- Moisture mapping. Some IEPs include a full moisture-mapping report; others charge separately. For a large or complex job, the mapping data is worth the cost.
- Report detail. A one-page summary is not the same as a defensible report with photos, chain-of-custody forms, and lab worksheets. The latter takes more time to produce.
The cost-benefit math is straightforward: PRV documentation is often required by insurers and lenders, and catching a failed clearance before reconstruction begins saves the cost of tearing out newly installed materials.
How to write clearance criteria into your remediation contract
The time to negotiate clearance requirements is before the contractor starts work, not after they hand you a bill. These are the items to include:
- Agreed clearance method. State explicitly: visual inspection plus moisture assessment plus laboratory sampling, referencing IICRC S520 as the governing standard.
- Who performs PRV. Name an independent IEP or specify that the owner will engage one; clarify that the remediator's own quality-control check does not substitute for independent PRV.
- Who pays for PRV. Typically the property owner pays for the independent IEP; the remediator pays for any retesting required after a failed clearance.
- Sample count and locations. Specify at minimum one outdoor baseline plus the number of indoor samples appropriate to the job scope. Reference the Inspectapedia clearance guidance if you want a documented basis for the number.
- Pass/fail definition. Condition 1 per IICRC S520: no visible growth, no mold odors, moisture at normal dry readings, and indoor fungal ecology consistent with outdoor baseline.
- Rework obligations. If PRV fails, the remediator performs corrective work at their expense and the space is retested before any reconstruction begins.
- Payment holdback. Final payment (or a defined percentage) is withheld until written clearance from the independent IEP is received.
- Timeline for testing. Specify that clearance sampling occurs within 24–48 hours of remediation completion and before containment removal.
Discuss these terms during the scope phase, not at contract signing. A remediator who knows clearance criteria upfront will plan containment, cleaning protocols, and scheduling to meet them.
What a valid clearance report must contain
A clearance report is a legal document as much as a technical one. If it ever needs to support an insurance claim, a real estate transaction, or a dispute, these elements must be present:
- Scope statement. Which areas were remediated, which were tested, and the date of inspection.
- Visual inspection findings. Written description and photographs of all remediated surfaces, containment condition, and any residual concerns.
- Moisture readings. Specific readings at specific locations, with instrument type noted. Not "moisture appeared normal" — actual numbers.
- Chain-of-custody documentation. The form that links each sample to its collection location, time, collector, and lab receipt. This documentation is what makes results defensible for insurance or legal purposes.
- Lab reports. Full lab worksheets, not just a summary table. Genera, counts, and the lab's own QC notes.
- Interpretation tied to Condition 1. The IEP's written conclusion explaining whether the results support Condition 1 and why, referencing the outdoor baseline.
- Odor assessment note. A written statement on whether mold odors were present at the time of inspection.
- Inspector qualifications and signature. The IEP's credentials, license numbers where applicable, and a signed attestation. A report without a named, credentialed signatory is not a defensible PRV.
How Purerestomd supports post-remediation verification in Maryland
Purerestomd provides mold inspection and PRV services across Maryland, with IICRC-trained staff, a 30-minute emergency response time, and direct insurance billing. For property owners who need both remediation and independent verification coordinated, Purerestomd handles the full scope: initial inspection, remediation, sampling coordination with accredited labs, and final clearance documentation.
Trust signals to look for in any Maryland PRV provider, and what Purerestomd brings to each:
- IICRC training. Purerestomd staff are trained to IICRC standards, the same framework that defines Condition 1 and governs PRV protocols.
- Local service area. Purerestomd serves communities across Maryland, including Chillum, Columbia, Elkridge, and Annapolis.
- Direct insurance billing. Purerestomd bills insurers directly, which removes one administrative burden from property owners managing a claim.
- Documented inspection process. Inspections include visual findings, moisture readings, and photo documentation consistent with the report requirements described above.
To add PRV language to a remediation contract or request a mold inspection, contact Purerestomd directly through the service pages for your area.
What practitioners get wrong about clearance testing
The single most common mistake is treating a single air sample as a clearance decision. One cassette, collected in a room that was ventilated the night before, tells you almost nothing. The result is a number with no context, and context is everything in mold clearance.
Three things property owners can do right now to protect themselves:
- Hold containment until testing is complete. Once barriers come down, the remediated zone is no longer isolated. If the IEP finds a problem after containment is removed, the corrective work is harder and more expensive.
- Photograph the work area before and after remediation. Your own photos, timestamped on your phone, are independent documentation that costs nothing. They matter if the remediator's report is ever disputed.
- Include HVAC in the sampling plan. Neglecting ducts is the most common missed item in residential PRV. A clean room connected to a contaminated air handler will fail clearance within weeks of reoccupancy.
One more caution: moisture control is not a one-time fix. A clearance report documents conditions on a single day. If the original moisture source was not fully corrected — a slow roof leak, a condensation problem, a grading issue — mold will return. The clearance test is the starting line for ongoing monitoring, not the finish line. Consider pairing post-remediation monitoring with a quality HEPA air purifier to reduce residual airborne particles during the recovery period.
Purerestomd handles mold clearance testing and remediation in Maryland
When remediation is done and you need documented proof the space is safe, Purerestomd delivers PRV inspections with IICRC-trained staff, sampling coordination through accredited labs, and written reports that meet insurance and real estate standards. The 30-minute response time means scheduling is fast, and direct insurance billing means you are not fronting costs while waiting for reimbursement.
For property owners in Maryland who want clearance testing handled correctly the first time, Purerestomd covers the full scope from initial mold inspection in Adelphi through final clearance documentation. Call or book online at Purerestomd to schedule your PRV inspection or to get PRV language added to an active remediation contract.
Sources
The guidance in this article draws on the following primary authorities:
- CDC — Mold: Testing and Remediation
- Inspectapedia — Mold clearance inspections & tests
- SCRT — Post-remediation verification (FAQ)
- TrueSight Environmental — Post-Remediation Verification
This article is general information, not a substitute for advice from a qualified doctor. Consult a qualified healthcare professional about your own circumstances before acting on anything here.
FAQ
What does mold clearance testing actually verify?
Mold clearance testing confirms that a remediated space has returned to Condition 1 — a normal fungal ecology consistent with the outdoor baseline — with no visible growth, mold odors, or active moisture. It does not verify zero mold; no regulatory standard sets a numeric indoor spore-count limit.
Is professional mold testing worth it?
For any job involving insurance, a real estate transaction, or a large remediation scope, independent PRV by a qualified IEP is worth the cost. It provides documented proof of clearance that a remediator's own quality-control check cannot offer, and it catches failures before reconstruction locks in the problem.
How much does a mold inspection and clearance test cost?
Pricing varies by sample count, building size, HVAC inclusion, lab turnaround, and report detail. Purerestomd provides transparent pricing estimates and bills insurance directly for covered work — contact Purerestomd for a specific quote.
How can you tell if mold is making you sick?
Symptoms associated with mold exposure include persistent respiratory irritation, nasal congestion, eye irritation, and worsening asthma. If symptoms resolve when you leave the building and return when you reenter, consult a physician and arrange an indoor air quality assessment. This article provides general information, not medical advice; confirm health concerns with a qualified healthcare provider.
What are the warning signs that a clearance test might fail?
Persistent musty odor after cleaning, moisture readings above normal dry levels, visible dust on remediated surfaces, and HVAC registers that were not included in the cleaning scope are the most reliable predictors of a failed clearance. Address all four before scheduling the IEP inspection.