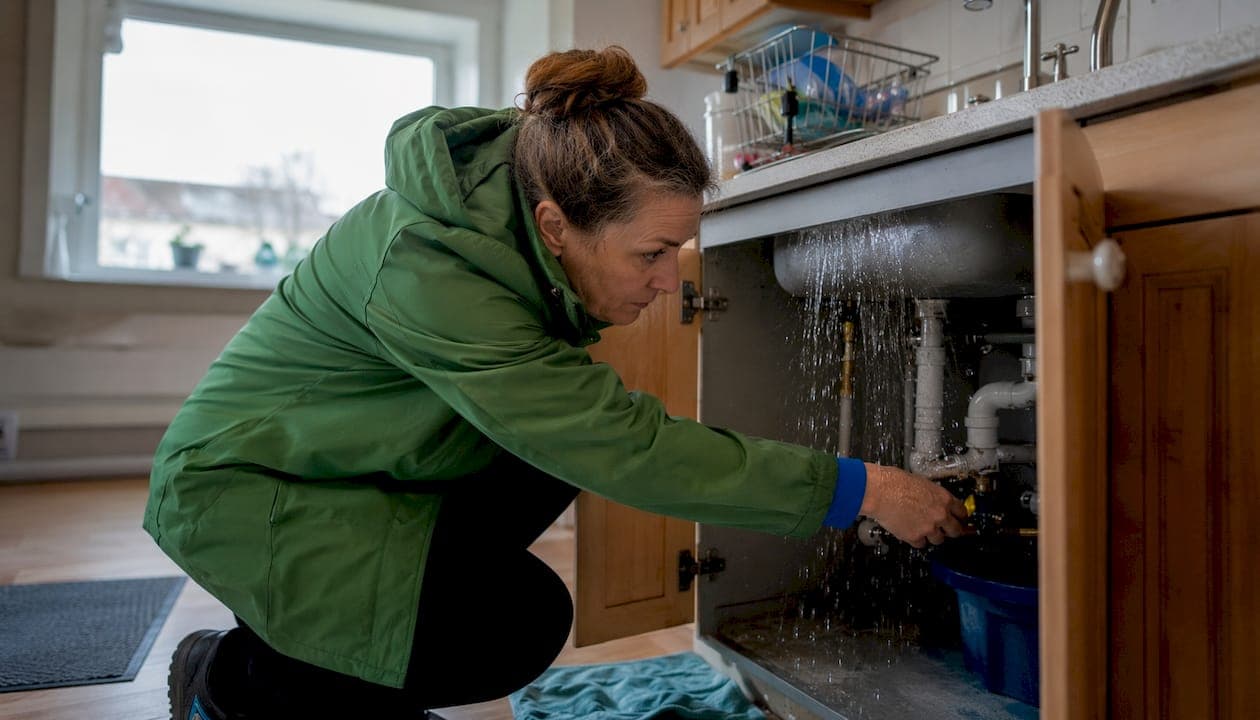
Shut off your main water supply, cut power to any wet areas at the breaker, photograph everything before you touch it, then call a restoration professional if standing water is more than an inch deep, contamination is possible, or you suspect hidden moisture. Those four actions, done in the first five minutes, determine how much of your home you save. Mold can begin colonizing wet drywall and wood framing quickly, so the clock starts the moment the pipe fails, not when you call for help.
First 15 minutes — do this in order:
- Locate your main water shutoff (usually near the water meter, in the basement, or outside near the foundation) and close it completely.
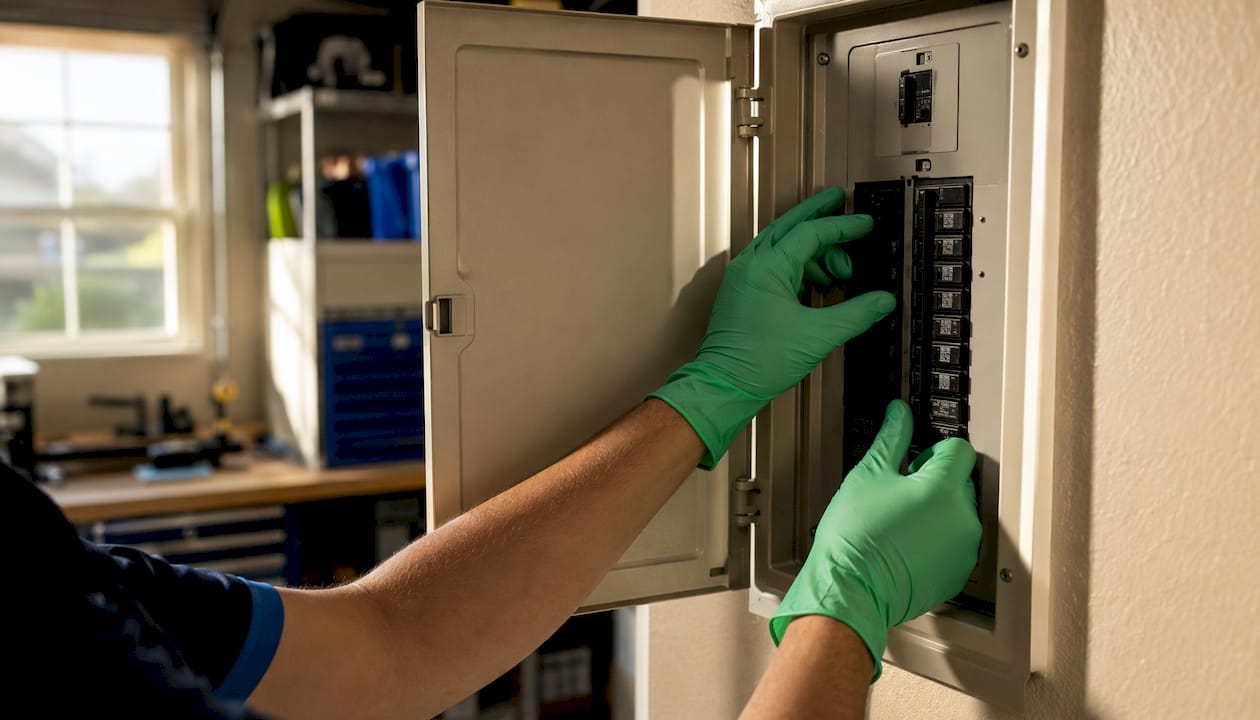
- Go to your electrical panel and shut off the breakers for any rooms with standing water or wet walls.
- Photograph and video the damage from multiple angles before moving a single item.
- Move valuables, electronics, and documents to a dry area only after the power is confirmed off.
- Call a certified restoration professional if water is deep, the source is unclear, or sewage contamination is possible.
Pro Tip: Keep your main water shutoff location written on a sticky note inside your electrical panel. In a real emergency, most homeowners waste critical minutes searching for it.
IICRC-certified restoration standards treat the mold window as the hard deadline for extraction and drying. Purerestomd operates 24/7 with a 30-minute emergency response time across Maryland, so if you are in the service area and the situation is beyond a small, clean-water drip, calling immediately is the right move.
Table of Contents
- What causes pipes to burst, and how do you know it happened?
- Safety first: what to do before you touch anything
- How the cleanup and restoration process actually works
- How fast does mold grow, and how do you stop it?
- Why hiring a certified restoration company changes the outcome
- What does insurance cover, and how do you document a claim?
- How long does cleanup take, and what does it cost?
- Should you handle this yourself, or call a professional?
- Key Takeaways
- What homeowners wish they had known sooner
- Purerestomd is ready when a burst pipe can't wait
- Useful sources and further reading
What causes pipes to burst, and how do you know it happened?
Pipes fail for a handful of reasons: freezing temperatures expand water inside the pipe until the wall cracks, corrosion eats through older galvanized or copper lines, sudden pressure spikes from water hammer stress joints, and physical damage from nearby construction or renovation work. Aging materials are a factor too. PEX and CPVC lines installed in the 1980s and 1990s can become brittle over decades, and galvanized steel corrodes from the inside out, often invisibly.
Recognizing a burst quickly matters because a burst pipe can discharge hundreds of gallons per hour, saturating wall cavities and subfloors before you see a drop on the floor. Watch for these signals:
- A sudden, dramatic drop in water pressure at fixtures
- The sound of running water when nothing is turned on
- New damp spots, staining, or bubbling on drywall or ceilings
- Swollen or warped flooring, especially hardwood or laminate
- A water meter that keeps spinning after you close the main shutoff
Pro Tip: After closing the main shutoff, check your water meter. If the dial still moves, water is still flowing somewhere, which tells your plumber and insurer that the leak is active and ongoing, not a slow seep from a prior event.
Pipe material matters mainly for the repair conversation with your plumber. Copper, PEX, CPVC, and galvanized steel each have different failure modes, lifespans, and repair methods. Knowing what you have helps you ask the right questions and understand the estimate.
Safety first: what to do before you touch anything
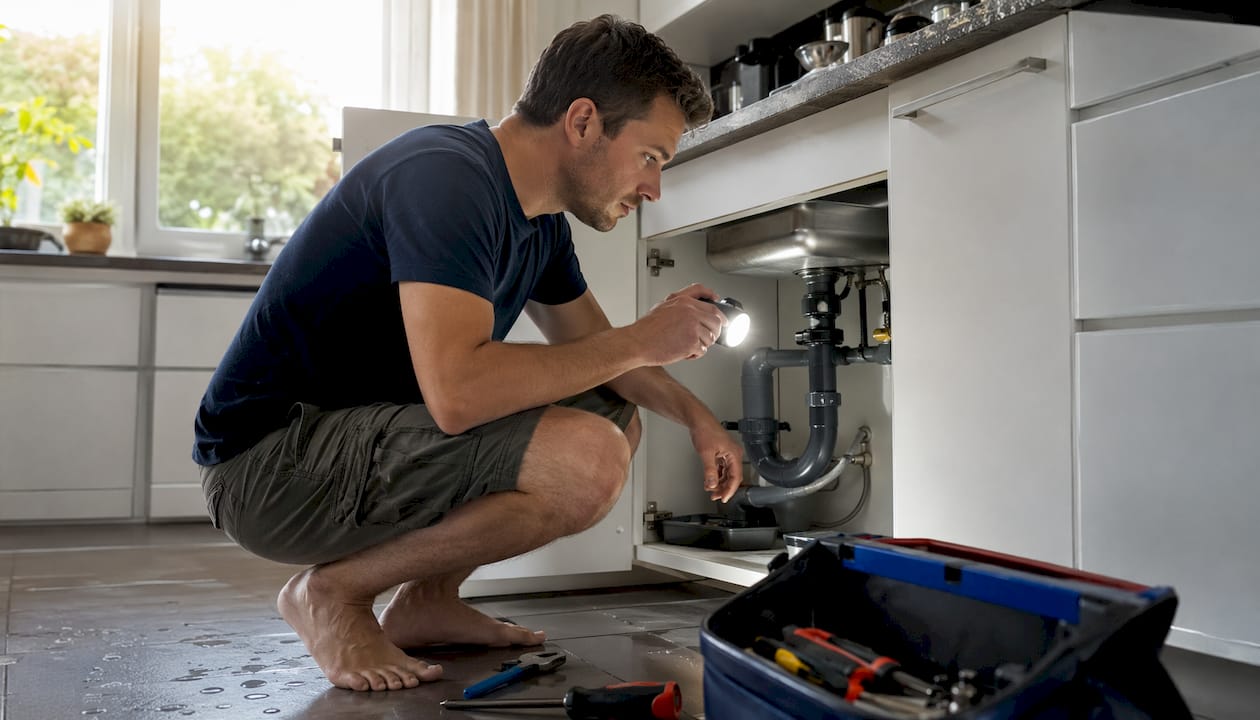
The physical cleanup comes second. Getting people out of harm's way comes first, and the two biggest hazards in a burst-pipe event are electrocution and contaminated water.
Ordered safety checklist:
- Shut off the water supply at the main valve.
- Go to the electrical panel and de-energize every circuit that serves a wet room or zone, even if you think the water has not reached the outlets.
- If the ceiling is bulging with trapped water, structural collapse is a real risk. Evacuate and call emergency services before re-entering.
- If you smell gas at any point, leave immediately and call your gas utility from outside.
- For sewage backup or heavily contaminated water, treat the area as a biohazard and call 911 or a restoration professional before attempting any cleanup.
Personal protective equipment (PPE) for any hands-on work:
- Nitrile or rubber gloves (heavy-duty, not latex exam gloves)
- Waterproof rubber boots with slip-resistant soles
- Safety glasses or goggles
- An N95 respirator or better when mold, sewage, or disturbed insulation is possible
Do not do these things:
- Do not step into standing water in a room where electrical equipment is still energized.
- Do not use a standard household vacuum to pull up standing water. It is not rated for liquid and creates a shock hazard.
- Do not attempt to open walls or remove structural materials without confirming power is off and the area is structurally sound.
The ready.gov utility shutoff guidance recommends contacting your utility company before re-energizing circuits in a flooded area. That step is easy to skip in the rush to dry things out, and it is one of the more common mistakes that leads to secondary injuries.
How the cleanup and restoration process actually works
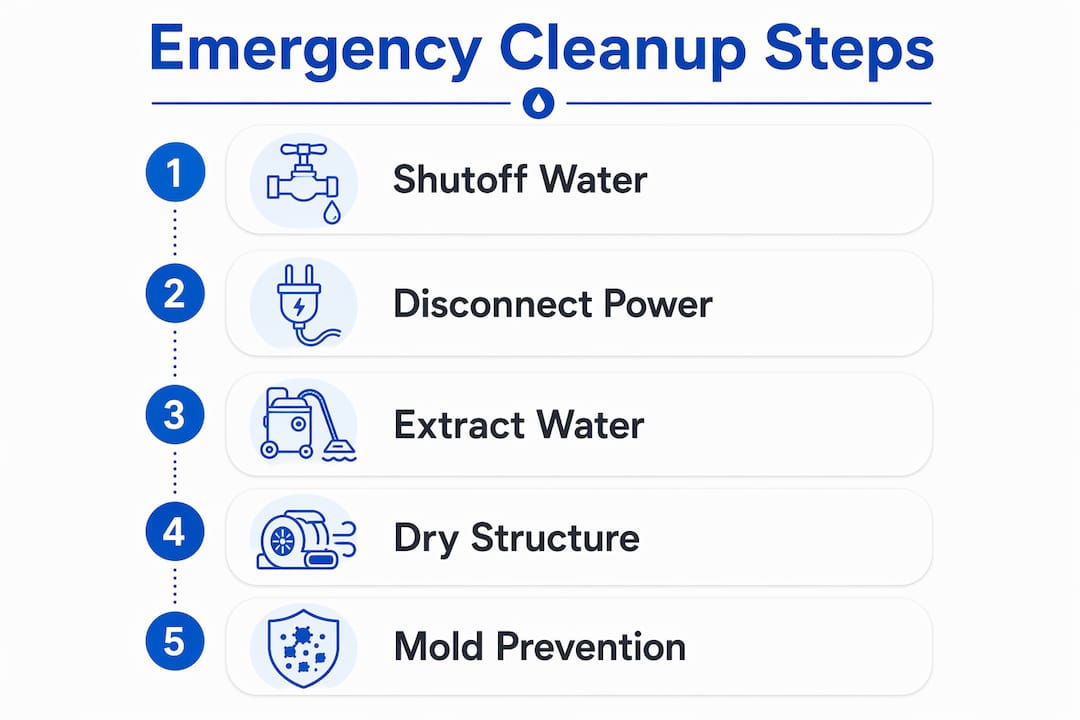
Burst pipe remediation follows a defined sequence. Whether you are doing limited work yourself or watching a professional crew, understanding the steps helps you verify the work is done correctly and gives you language for the insurance conversation.
The full restoration workflow:
- Inspection and assessment. A certified technician walks the affected area, identifies the water source and migration path, and uses moisture meters and thermal imaging to map where water has traveled inside walls, under floors, and into cavities.
- Documentation. Photographs, moisture readings, and a written scope of work are captured before extraction begins. This record is what your insurer will use to evaluate the claim.
- Water extraction. Extraction within the first hour of site access is recommended to limit secondary absorption. For standing water over an inch deep, a submersible pump or wet/dry vacuum is the right tool. Rental submersible pumps run approximately $40–$60 per day at most hardware stores for typical residential volumes.
- Content pack-out or staging. Wet furniture, rugs, and personal items are moved out of the work zone. Salvageable contents go to a staging area or off-site storage for cleaning and drying.
- Structural drying and dehumidification. Axial air movers push warm, dry air across wet surfaces. Refrigerant or desiccant dehumidifiers pull moisture out of the air and structure. In tight cavities, inject-dry systems force airflow directly behind baseboards and inside wall assemblies.
- Cleaning and sanitization. Hard surfaces are cleaned with EPA-registered antimicrobial products. Soft materials that cannot be dried to standard are removed.
- Moisture verification. Daily moisture readings with a calibrated moisture meter confirm drying progress. The target is documented, material-specific dryness per IICRC S500 standards before reconstruction begins.
- Repair and reconstruction. Once moisture readings confirm the structure is dry, repairs begin: drywall replacement, flooring reinstallation, painting, and any plumbing fixes.
Equipment and what each tool does:
- Wet/dry vacuum or submersible pump: removes bulk standing water
- Axial air movers: accelerate surface evaporation
- Refrigerant dehumidifiers: effective in warm conditions (above 60°F)
- Desiccant dehumidifiers: work in cold conditions and tight spaces where refrigerant units lose efficiency
- Moisture meters (pin and pinless): measure moisture content in wood, drywall, and concrete
- Thermal imaging camera: reveals hidden moisture migration behind walls and under floors
Material-specific notes:
- Carpet and padding: Padding almost always requires removal; it holds water like a sponge and rarely dries fast enough to prevent mold. Carpet may be salvageable if extracted within 24–48 hours and the water is clean (Category 1).
- Drywall: Materials saturated for fewer than 24 hours in a Category 1 event may be dried in place; exposure beyond 48 hours or any Category 2/3 contamination typically requires removal.
- Hardwood floors: Cupping and buckling begin quickly. Controlled drying with floor mats and dehumidifiers can save some hardwood, but the decision depends on how long the wood has been wet.
- Subfloor and insulation: Saturated fiberglass batt insulation loses R-value and holds moisture; removal is usually the right call. Subfloor OSB that has swollen or delaminated needs replacement.
How fast does mold grow, and how do you stop it?
Mold colonization can begin within 24–48 hours on wet cellulosic materials like drywall, wood framing, and carpet. That window is not a guideline. It is the hard deadline that drives every decision in professional water damage repair.
The practical prevention steps are straightforward:
- Extract standing water as fast as possible, ideally within the first hour.
- Run dehumidifiers continuously until moisture readings confirm the structure is dry. Target indoor relative humidity below 50%.
- Open wall cavities where safe to allow airflow to hidden wet framing.
- Move wet contents out of the space immediately; wet furniture and rugs in a closed room dramatically slow the drying of the surrounding structure.
- Sanitize hard surfaces with an EPA-registered product after drying, not before. Applying sanitizer to wet surfaces is largely ineffective.
Pro Tip: The most expensive mold remediations almost always trace back to moisture that was trapped behind baseboards or inside wall cavities and never detected. Before any reconstruction starts, insist on a full moisture map with documented readings. A contractor who wants to skip that step is a contractor worth replacing.
A professional mold inspection after drying is complete is the only reliable way to confirm that no colonization has started in areas you cannot see. Moisture meters and thermal cameras used during drying reduce the risk, but a post-drying inspection closes the loop.
Why hiring a certified restoration company changes the outcome
The gap between a certified restoration firm and an ad-hoc response is not just about equipment. It is about documented, verifiable outcomes that hold up with insurers and protect you from expensive surprises six months later.
What IICRC certification actually means: The Institute of Inspection, Cleaning and Restoration Certification sets the technical standards for water damage restoration, including the IICRC S500 (water damage) and S520 (mold remediation) standards. Technicians who hold IICRC credentials have passed written exams and demonstrated knowledge of drying science, contamination categories, and documentation requirements. That matters because insurers increasingly require IICRC-standard documentation to approve reconstruction claims.
Equipment that changes outcomes:
- Truck-mounted extractors remove far more water per hour than any rental unit
- Desiccant dehumidifiers handle cold basements and tight crawl spaces where standard units stall
- Moisture mapping with thermal imaging finds hidden saturation that a visual inspection misses entirely
Purerestomd's technicians are IICRC-certified, available 24/7, and handle direct insurance billing, which removes one of the most stressful parts of the process. A 30-minute emergency response time in Maryland means extraction can begin before saturation spreads into adjacent rooms or the floor assembly below.
What does insurance cover, and how do you document a claim?
Most standard US HO-3 homeowner policies cover sudden and accidental burst-pipe water damage to the structure and contents. The pipe repair itself is typically excluded. Gradual leaks that developed over time are also usually excluded, which is why documenting the sudden nature of the event matters from the first hour.
Steps for filing a claim:
- Notify your insurer within 24–48 hours of the event. Most policies require prompt notification.
- Photograph and video the damage before cleanup begins, including wide-angle shots of each room and close-ups of the pipe, the damage origin, and affected materials.
- Write a timeline: when you discovered the damage, what you did, and when you called for help.
- Keep every receipt, from emergency extraction to temporary housing.
- Get a written scope of work and itemized estimate from your mitigation contractor before work begins.
Documentation checklist:
- Photos of the burst pipe and its location
- Wide-angle and close-up shots of every affected room
- Serial numbers and model numbers for major damaged items (appliances, electronics)
- Receipts for emergency mitigation, hotel stays, and temporary repairs
- Contractor reports with moisture readings and drying logs
- A written timeline of events in your own words
A photo and video inventory captured in the first 24–48 hours materially increases the probability of full claim approval. Do not discard damaged items until your insurer has inspected them or explicitly told you to dispose of them. Keep mitigation costs and temporary housing receipts in a separate folder, clearly labeled.
How long does cleanup take, and what does it cost?
Timeline and cost vary significantly based on how much water moved, where it went, and how quickly mitigation started. Here are realistic ranges:
| Scenario | Typical timeline | Estimated cost range |
|---|---|---|
| Spot pipe repair (plumbing only) | Same day to 1 day | $300–$1,200 |
| Small-room mitigation (clean water, caught early) | 3–5 days drying | — |
| Moderate event (multiple rooms, some hidden moisture) | 5–7 days drying + reconstruction | — |
| Major remediation (large area, Category 2/3, or delayed response) | 1–3 weeks or more | — |
Factors that drive costs up:
- Accessibility: water under a slab or inside finished walls requires cutting and opening
- Contamination level: Category 2 (gray water) or Category 3 (sewage) requires full PPE, specialized sanitization, and material removal
- Square footage affected and number of rooms
- Pack-out and contents cleaning for furniture, electronics, and personal items
- After-hours emergency premiums, which can add 30–50% to base rates
Pro Tip: Always get a written scope of work with separate line items for mitigation and reconstruction before any work begins. Pay for reconstruction only after moisture readings confirm the structure has reached documented dryness. A contractor who resists providing those readings before billing for rebuild work is a red flag.
Should you handle this yourself, or call a professional?
Call a certified restoration professional if any of these apply:
- The affected area is larger than 10 square feet
- Water has been present for more than 24 hours
- You suspect sewage contamination or gray water (from a dishwasher, washing machine, or toilet)
- Structural materials (subfloor, wall framing, ceiling joists) are visibly saturated
- You cannot identify where all the water went
- Mold is already visible or there is a musty odor
DIY is reasonable only when all of these are true:
- The affected area is small (under 1 square foot)
- The water source is confirmed clean potable water
- You caught it immediately and there is no hidden moisture
- You have a wet/dry vacuum, fans, and a dehumidifier available
If you choose DIY, follow this sequence:
- Stop the water source and confirm it is off.
- Document with photos before touching anything.
- Extract standing water with a wet/dry vacuum.
- Remove soaked carpet padding and any unsalvageable soft materials.
- Run fans and a dehumidifier continuously.
- Check moisture levels daily with a moisture meter.
- If drying stalls, mold appears, or you find moisture in walls, stop and call a certified pro.
For anything beyond a small, clean-water drip caught immediately, the risk of hidden moisture and delayed mold makes professional assessment the smarter call. Regional homeowner guidance consistently points to the same threshold: when in doubt, call a qualified pro before attempting cleanup. Purerestomd offers 24/7 emergency assessments across Maryland, so you do not have to wait until business hours to get a definitive answer.
Key Takeaways
Fast action in the first hour of a burst pipe event determines whether you face a contained repair or a full mold remediation.
| Point | Details |
|---|---|
| Shut off water and power first | Close the main shutoff and cut breakers to wet areas before touching anything else. |
| Mold window is 24–48 hours | Extraction and drying must begin within this window to prevent mold colonization in walls and flooring. |
| Document before you clean | Photos, moisture readings, and receipts are what make insurance claims succeed. |
| Hidden moisture causes the worst damage | Insist on moisture mapping and documented dryness readings before any reconstruction begins. |
| Purerestomd provides 24/7 emergency response | IICRC-certified technicians with direct insurance billing and a 30-minute response time across Maryland. |
What homeowners wish they had known sooner
The pattern that shows up again and again in restoration work is not the burst itself. It is the delay. Homeowners who spent 20 minutes searching for the main shutoff, or who waited until morning to call because the visible water seemed manageable, consistently face larger scopes and higher bills than those who acted in the first hour.
A few things that come up repeatedly:
- Not knowing where the main shutoff is before an emergency is one of the most common and most avoidable problems. Walk your home today and locate it.
- Skipping documentation because the situation feels urgent is a mistake that shows up weeks later when the insurer asks for proof of the damage state before cleanup.
- Many homeowners assume that once the visible water is gone, the problem is solved. Moisture inside wall cavities does not announce itself. It just grows mold quietly for weeks until the smell becomes impossible to ignore.
The stress of a burst pipe is real, and the instinct to start mopping immediately is understandable. But the two minutes it takes to photograph the scene before you move anything, and the phone call to a certified restoration firm while you are still in shock, are the two decisions that most consistently lead to better outcomes. If you are in Maryland and need an emergency assessment, ask any restoration professional for their moisture-readout documentation before agreeing to reconstruction. That one request tells you immediately whether you are working with someone who meets IICRC standards or someone who is guessing.
Purerestomd is ready when a burst pipe can't wait
When standing water is spreading and you need someone there fast, Purerestomd delivers 24/7 emergency water damage restoration across Maryland with a 30-minute response time. That is not a business-hours service. It is a crew with extraction equipment, moisture mapping tools, and IICRC-certified technicians dispatched the moment you call, any day, any hour.
The service covers the full scope: emergency extraction, structural drying with industrial dehumidifiers and air movers, moisture mapping, sanitization, mold inspection, contents pack-out and secure storage, and reconstruction coordination. Direct insurance billing is available, so you are not fronting costs and waiting for reimbursement while your home is torn apart.
When you call, have your insurance policy number ready, a brief description of which rooms are affected, and any photos you have already taken. In the first hour, the team will verify the water source is shut off, conduct an initial moisture assessment, and give you a written mitigation estimate. Request your emergency assessment now and get a certified team moving before the 24-hour mold clock runs out.
Useful sources and further reading
These are the authoritative sources referenced throughout this guide. Each one is worth bookmarking if you are managing an active water damage event or preparing for one.
- IICRC / Restoration Industry Association: The governing body for restoration standards, including IICRC S500 (water damage) and S520 (mold). Use this to verify contractor credentials and understand what certified drying standards require.
- EPA Flood Cleanup Guidance: The EPA's practical guidance on mold prevention, cleanup safety, and when to call professionals after flooding or water intrusion.
- Ready.gov Utility Shutoff Safety: Federal guidance on safely shutting off water, gas, and electricity during emergencies. Useful for pre-event preparation and post-event re-energization steps.
- Wisconsin.gov Emergency Preparedness: State-level emergency preparedness resources that include guidance on utility shutoffs and property protection during water events.
- Purerestomd Emergency Restoration: 24/7 IICRC-certified water damage restoration, mold inspection, and contents cleaning across Maryland. Use as your direct contact for emergency assessment and mitigation.